Tuesday, September 6, 2011

Spring is here!

Spring is here! Spring is here!

As the warmth and joy of spring emerges around us, we are having a most wonderful time at playgroup. The jasmine and freesias and wisteria are blooming, and during circle time outside we stop and breathe in deeply, as their scents gently drift past.

Our song time too is full of joyful verses and new energy that draw us out of that wintery place within.

We have been busy playing with magical bubbles, such enchanting things with their 'rainbow dreams' swirling within. We have also been telling Susan Perrows magical story "The littlest bubble".


Spring Bubble Painting

The children absolutely loved this painting, it is so much fun, so easy and gives such beautiful results.

In a bowl squirt a little bit of dishwashing detergent, a little bit of liquid watercolour and a little bit of water. Add a straw and BLOW until the bubbles overflow. And yes - we did have a couple of children who sucked - ewwh (but one did go back for more!)


Gently put your piece of paper over the bubbles (we used watercolour paper but any heavy paper or cardboard will do).


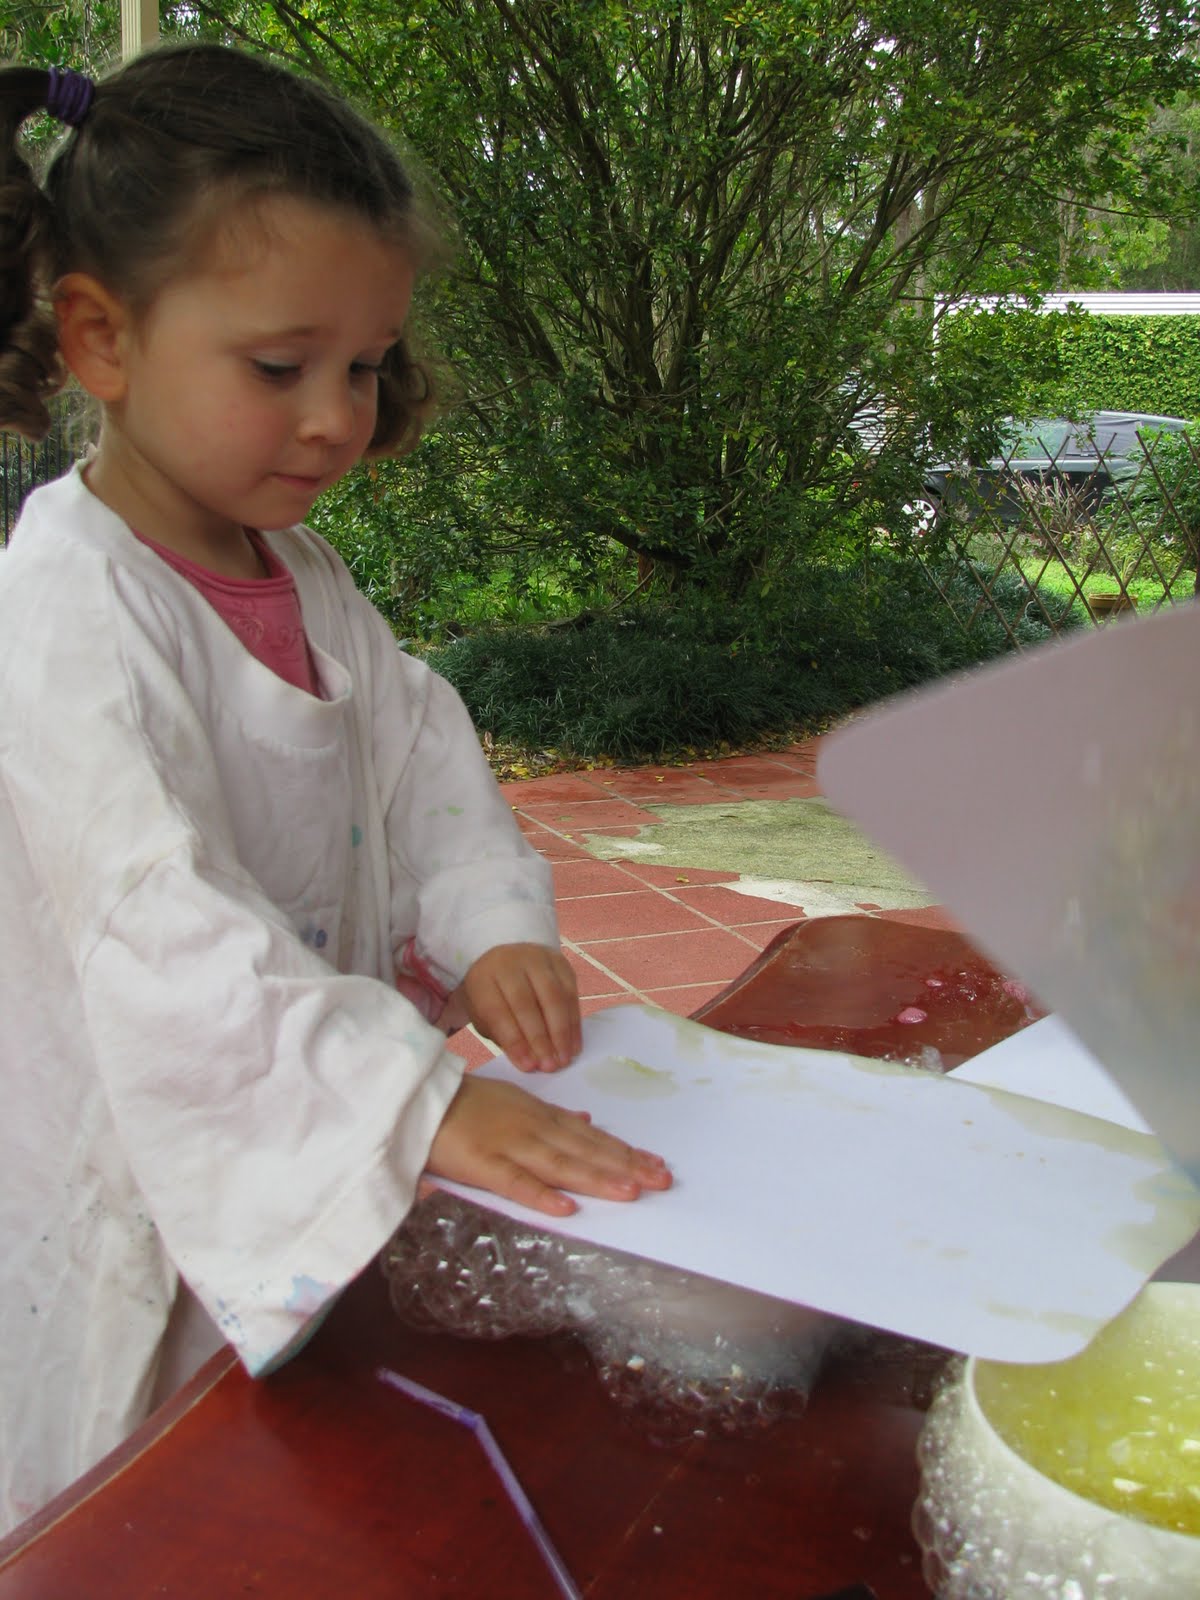
Do this a few times until your paper is covered in the most beautiful rainbow bubble pattern.


The photos don't do this any justice, but they looked so lovely that I made extra for our 'Welcome Spring' Celebration invitations.


Wire and Bead Bubble Wands

What is a spring celebration without bubbles?
So we set to work making beautiful bubble wands in preparation for our spring celebration.


The children chose their beads, the mamas set to work twisting and curling gold, silver and copper wire to create these most spectacular pieces of art.


Each wand is so unique and they all look so beautiful sitting in a vase on my bench awaiting next week - they remind me of dream catchers. Make sure you have a look in later to see how we made them.

Our wands were inspired by the wands of Erica and James of Wizard Bubblewands. If you are looking for a unique birthday or Christmas gift their work is beautiful.
wizardwand2@gmail.com

Monday, September 5, 2011

3 Billy Goats Gruff

Another of our favourites this winter was the retelling of the 3 Billy Goats Gruff. My own daughter loves retelling our playgroup story to me when everyone has gone home, and this was one she particularly liked.

First we wet felted some landscape mats.


The next week the children (and mamas) had a great time making their own unique trolls from a basket of 'bits' - rocks, corks, fleece, felt scraps, googly eyes.
Bridges were found from wood offcuts and seedpods.


Finally, some billy goats made from simple cardboard cut outs!

Monday, August 29, 2011

Wool Dying

One of the highlights of playgroup this winter was dying wool. We had been telling a story based on "Pelles New Suit" by Elsa Beskow, and dyed wool just as the little boy did in the story.


First take some white wool and wrap some lengths of it around the back of a chair. Tie it in a figure of 8 (this stops it tangling). I made each length around 20g.


Soak the wool overnight in a mix of vinegar and water (approx 1/2 cup vinegar to 2L water). Drain but do not rinse.

Then mix 10-12 drops of food colouring into 1/3 cup of water.
(apologies for the upside down photo - one of the joys of technology not doing as you want it to!)


Let the children spoon the dye all over the wool until it is covered. Blend colours on the wool to create secondary colours (remember too much will create murky browns, but this is all part of the experience sometimes).


When the wool has plenty of colour all over it, cover it with a plastic bag and smoosh it around. This works the colours into the wool and all the spots you might have missed.


The colours were all so beautiful
(and again another example of technology doing its own thing - or maybe its just me!)

Finally steam the wool over a pot of almost boiling water for around 15 minutes, then rinse in lukewarm water. Hang it to dry then roll into balls.

The colours did fade a little bit but are still lovely.


And what a sense of satisfaction to take those lovely coloured balls of wool and make something beautiful from them!

(This idea came from Living Crafts magazine Fall 2009)

Friday, August 26, 2011

Winter Solstice Celebration

Well, I know its a little late (ok a lot late), but as they say better late than never....

In the weeks leading up to our Winter Celebration we told the most beautiful story of "The Seed Babies Light" (see the winter issue of Star Weavings).
We made our own window stars to bring the light into our lives.
And the children eagerly helped gather wood and kindling in anticipation of our solstice bonfire.
On the morning the children rolled their own beeswax candles and cored their own apple to hold their candle in. (some apples didn't make it very far - they just looked too delicious!)

As our name was sang, we lit our candles from the light at the centre of our spiral walk.
The children used their candles from the spiral walk to light our bonfire, then added some special items which they had each brought along.
Then some seasonal winter songs around the bonfire.
Before finally tucking into some hearty warming winter food!
Casseroles, soups, rice, quinoa, crusty bread, and of course some yummy pumpkin scones.
What a nourishing and heartwarming morning.

Tuesday, June 7, 2011

Wild Child

We have been busy playing with the colours, tastes and textures of Autumn.

Our story (based on the book Wild Child by Lynn Plourde, and one of my favourites) also created a feast of sounds and imagery for our senses.


Crinkle, crackle, leaves snapple.
Snapperly, dapperly, cidery apples. Puckery, smuckery, crimsony cranberries
.

(which the children got to sample during the story - yum!)

A fiery, flaming, reddish nightgown.

A whooshy, whirlishy, windswept snuggle.


Our Nature table reflected Autumns hues, and many of Mother Earths gifts of Autumn - pine cones, sunflower heads, pumpkins, apples, chestnuts, and multicoloured leaves. Mother Earth herself is beginning to feel the cool, warming herself with her knitted shawl woven with feathers and leaves.


We painted autumn leaves in shades of yellow, orange and red.


We made crunchy, munchy, spicy pumpkin seeds.

They were so delicious!


Recipe from "A Childs Seasonal Treasury" by Betty Jones

2 cups dried pumpkin seeds (or sunflower seeds are just as yummy)

2 tablespoons melted butter

1/2 teaspoon tamari

Salt

Melt butter and comine all ingredients. Spread over an oven tray on a low heat for approx 1 and 1/2 hours until seeds are crisp and brown, stirring occasionally.


The children created an Autunm nature collage using bits and pieces collected from around the bush.


And finally we built a bamboo and stick cubby. The bamboo was used for the frame as it is flexible, then sticks were woven in between. Some large pieces of fallen bark from one of the palm trees covered the floor.


I love all the possibilities of Autumn, and the sensory feast it provides!

Wednesday, May 11, 2011

Autumn Gardening

With the rain slowing down and the weather cooling down, autumn is a beautiful time to be spending in the garden. And so thats just what we have been doing...


First we planted some lovely new eucalypts. The children had a great time throwing in scoopfuls of gypsum and compost


before carefully placing in our trees and shovelling and scooping in the soil,


then give it a good stomp, and wait for the afternoon storm to come and water it all in.


Nice job everyone!


Autumn is also a great time for TREE PASTING. I took inspiration from Sandra Frain at a workshop last year, and again in the latest issue of Star Weavings, and wove a lovely little story about healing our gum trees using tree paste. Tree pasting protects trees from disease after damage (eg animal scratches, pruning), and also from the cold of winter (although that is not really an issue here). Through this the children are engaging in meaningful healing work and develop a positive relationship with the plant kingdom, and it is a positive way to approach any issues with children treating trees harshly eg peeling off bark, hitting with sticks.


All you need is


a bucket of clay...


a bucket of sand...


and a bucket of cow poo!


Tip them on the ground, mix them all together...


then back into the bucket with a bit of water (the children got a bit carried away with the water), and give it a good stir.


Dip your brush in,


and away you go!


The kids even got resourceful and started using bark and sticks to paint with while they were waiting for a turn with the brush.


Ewh, cow poo on my hands...


But what a fantastic time they had!